Setting breakpoints using the dialog box
The advantage of using a breakpoint dialog box is that it provides you with a graphical interface where you can interactively fine-tune the characteristics of the breakpoints. You can set the options and quickly test whether the breakpoint works according to your intentions.
All breakpoints you define using a breakpoint dialog box are preserved between debug sessions.
You can open the dialog box from the context menu available in the editor window, Breakpoints window, and in the Disassembly window.
Choose View>Breakpoints to open the Breakpoints window.
In the Breakpoints window, right-click, and choose New Breakpoint from the context menu.
On the submenu, choose the breakpoint type you want to set. Depending on the C-SPY driver you are using, different breakpoint types are available.
In the breakpoint dialog box that appears, specify the breakpoint settings and click OK.
The breakpoint is displayed in the Breakpoints window.
In the Breakpoints window, editor window, or in the Disassembly window, select the breakpoint you want to modify and right-click to open the context menu.
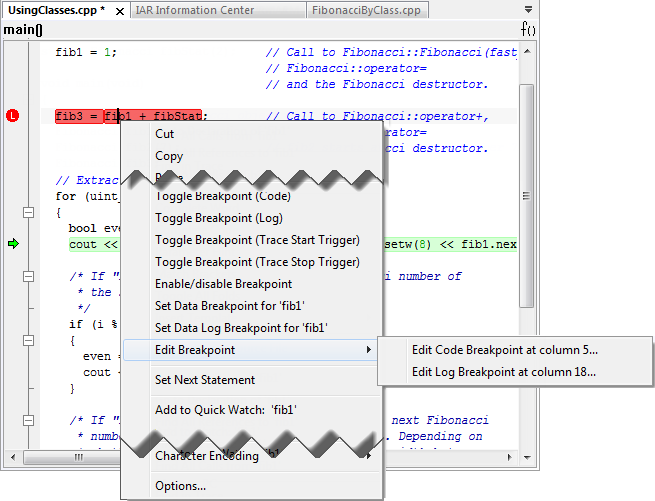
If there are several breakpoints on the same source code line, the breakpoints will be listed on a submenu.
On the context menu, choose the appropriate command.
In the breakpoint dialog box that appears, specify the breakpoint settings and click OK.
The breakpoint is displayed in the Breakpoints window.